Capture Screenshots
Save, copy, crop, and insert screenshots from the current video frame.
Screenshots capture the current video frame. You can insert them into notes, copy them to the clipboard, save them as files, or use them as media note covers.
For the complete command list, see Commands. For template placeholders, see Screenshot templates.
Prerequisites
- A video is open in Media Extended or the web viewer.
- The video source supports screenshots. Some hosted sites block frame capture in the local player. If that happens, open the page through the web viewer and try again.
- A note is open if you want to insert the screenshot into your notes.
Capture from the player menu
Open the screenshot menu
Open the player tab, then click (more options) in the top-right corner.
You'll see the screenshot actions for the current frame:
Choose what to do with the frame
Choose one of these menu groups:
- Copy screenshot puts the image on your clipboard.
- Save screenshot writes an image file to your vault without changing the note.
- Set as cover saves the image and uses it as the media note cover.
Each group has two choices: Full frame and Clipped. Use Clipped when you want to crop first; Media Extended pauses the video and opens the crop tool.
Insert a screenshot into a note
Use a note command to put the screenshot directly into your current note.
Insert a plain screenshot
Place your cursor where the image should go. Right-click in the editor and choose MediaAdd screenshot.
Media Extended saves the current frame and inserts a plain image embed at the cursor:
![[attachment/mx-img-…-pt102s.webp]]The plain screenshot command follows your Insert location setting.
Insert a screenshot snippet
Run Media Extended: Insert screenshot snippet to note from the command palette, or assign it a hotkey in Settings > Hotkeys.
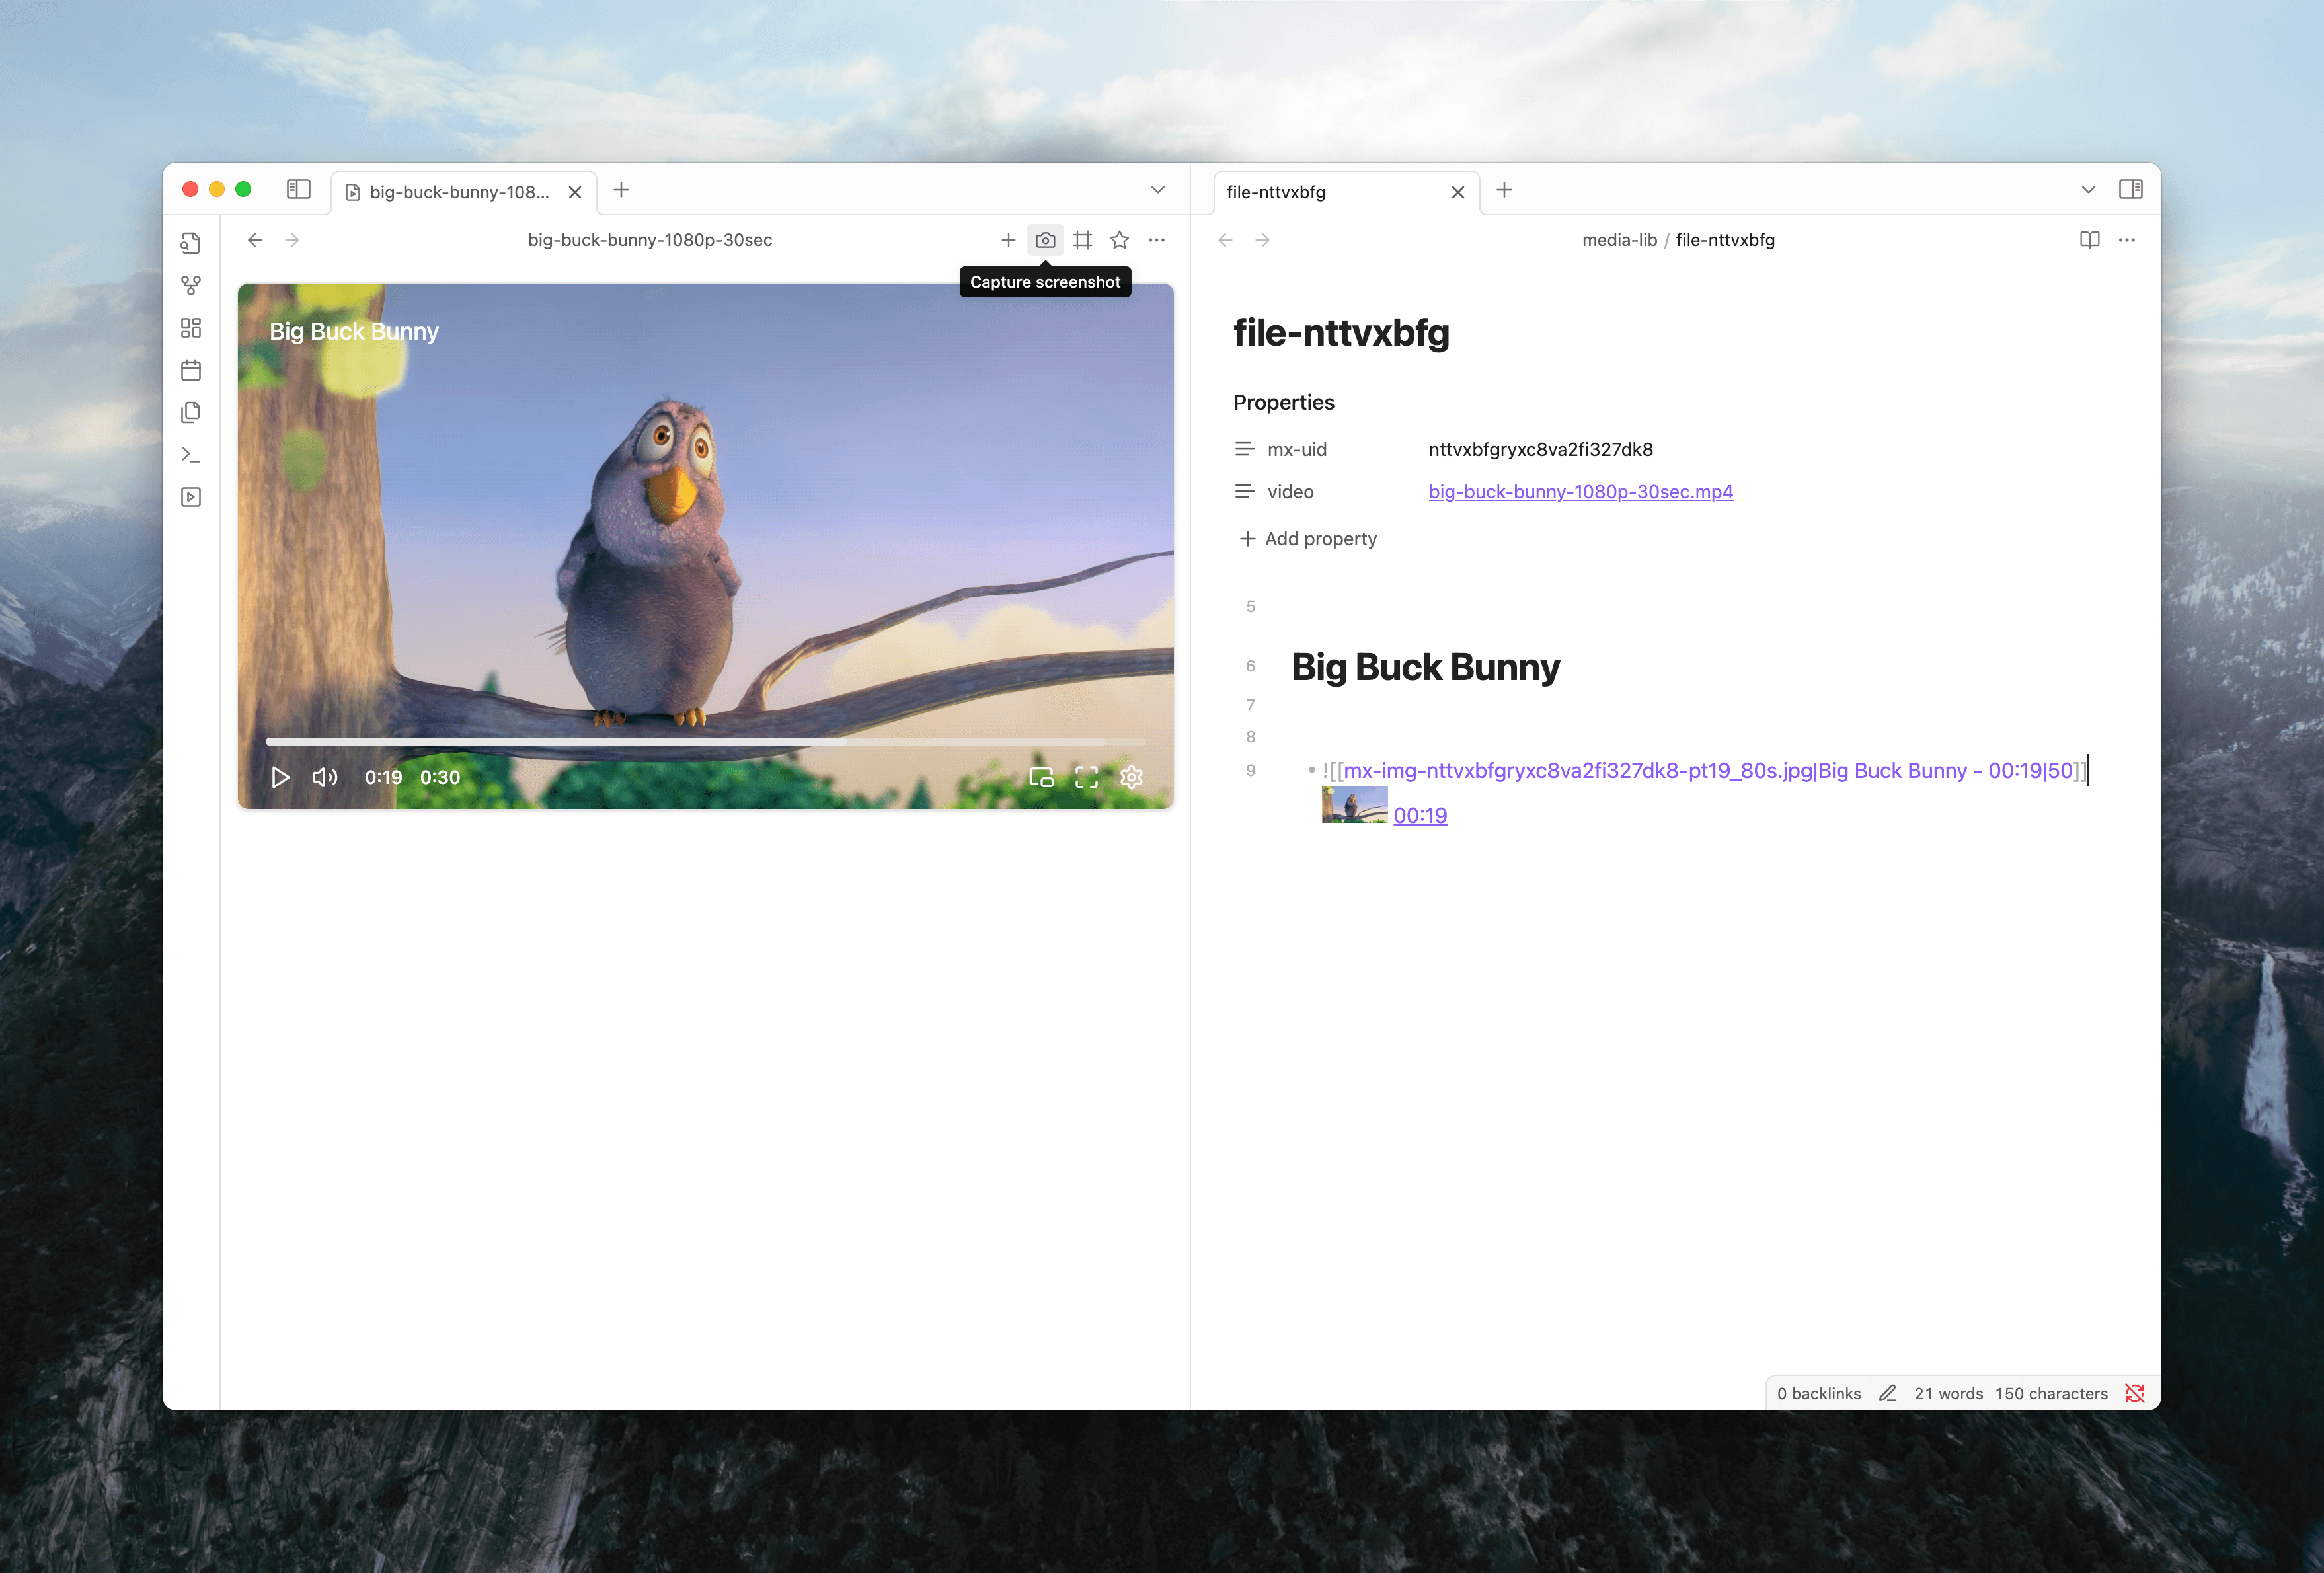
Media Extended saves the frame and inserts the screenshot snippet template on the next line:
- ![[attachment/mx-img-…-pt102s.webp|Lecture - 00:01:42|50]] [[lecture.mp4#t=102]]Media Extended generates both from your screenshot templates.
Crop before inserting
Use MediaClip and add screenshot, or run Media Extended: Clip and insert screenshot snippet to note.
The video pauses and the crop tool opens. Drag over the part of the frame you want, then confirm. Media Extended saves only the selected area.
Configure screenshot output
Open Settings > Media Extended > Playback > Screenshot.
| Setting | What it controls |
|---|---|
| Screenshot location | Save screenshots beside the current note, or in a specific folder. |
| Screenshot folder path | The folder used when the location is set to a specific folder. |
| Screenshot format | The file type for saved screenshots: PNG, JPEG, or WEBP. |
Copied screenshots always use PNG. Saved screenshots use your selected format.
Change the inserted text
Open Settings > Media Extended > Note taking to customize screenshot templates.
The most common change is screenshot width. Screenshot snippets use this default alias:
{{TITLE}}{{DURATION}}|50Change 50 to a larger number for bigger thumbnails, or remove |50 to use the full image width.
See Screenshot templates for every placeholder and example.
See also
- Study Note from a Lecture — tutorial using timestamps, screenshots, and clips together
- Set Embed Width and Height — control the size of screenshot and media embeds
- Commands — the full list of screenshot commands